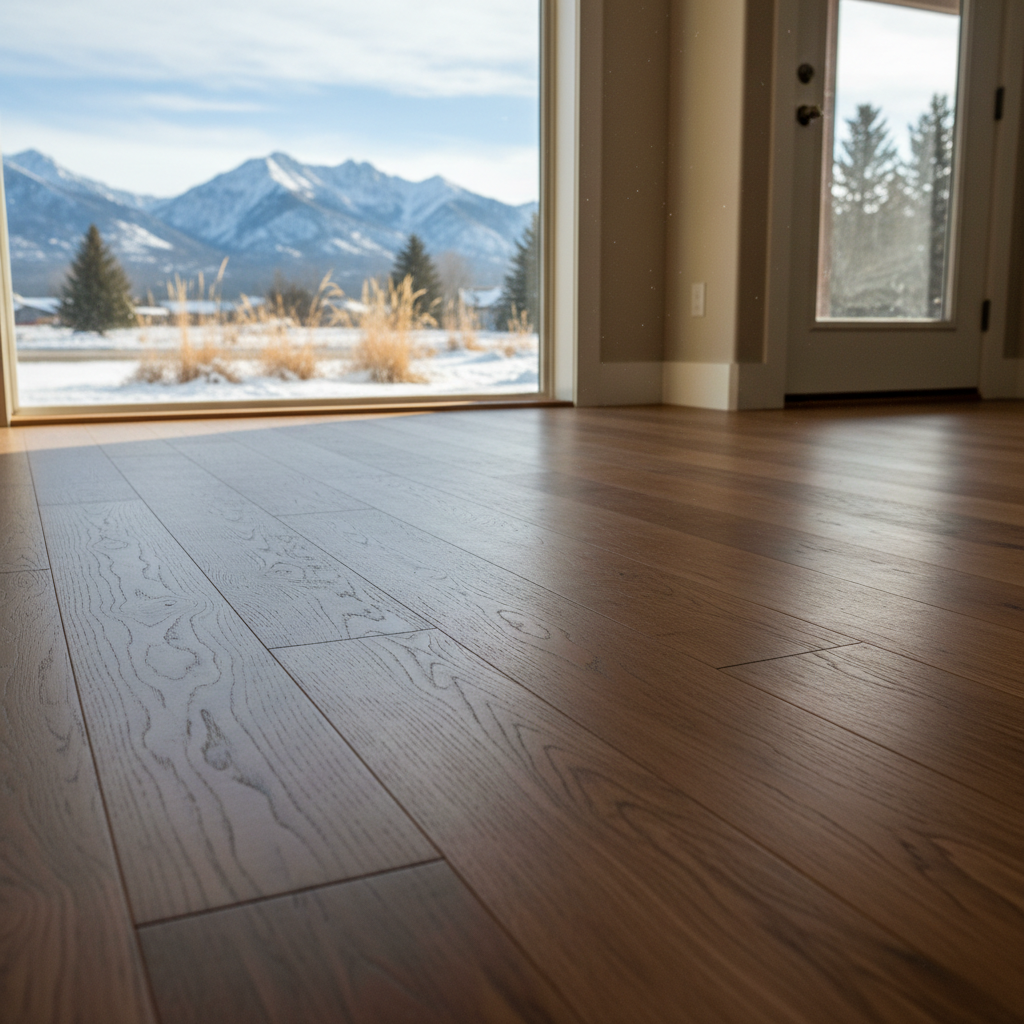
So, you're thinking about new flooring, huh? Maybe that old carpet in the living room is finally giving up the ghost, or you're just plain tired of the scuffs on your kitchen linoleum. It's a big decision, for sure, and a lot of folks wonder, "Can I just do this myself?"
The short answer? Sometimes. But it really depends on what you're doing, and how much time and patience you've actually got. Let's break down what you need to know before, during, and after your flooring project. We'll also look at when it just makes more sense to pick up the phone instead of a pry bar.
Before You Start: Planning & Prep
This is where a lot of projects go sideways before they even begin. Seriously, don't skip this part. First off, figure out what kind of flooring you actually want. Hardwood, laminate, vinyl plank, carpet? Each one has its own installation quirks. Do some research. Look at samples. Think about how you live in your house. Got pets? Kids? Are you tracking in mud from the Bitterroot River after a hike? All that stuff will definitely influence your choice.
Next, measure your space. Measure twice, buy once, as they say. Add about 10-15% for waste, especially if you're doing something with a lot of cuts or a specific pattern. You really don't want to run out of material halfway through, only to find out your specific shade of laminate is back-ordered for six weeks.
Now, the subfloor. This is crucial. Your subfloor needs to be clean, dry, and level. If you've got old carpet, pulling it up is usually a DIY job. Just make sure you get all the staples and tack strips out. If you're dealing with old tile or glued-down vinyl, though, that can be a real bear. Often, those old adhesives are tough, and getting the floor perfectly smooth again can easily become a professional job. If your subfloor isn't flat, your new floor won't lay right, and you'll have squeaks, gaps, or even cracks down the road. I've seen plenty of folks in the Lone Rock area try to skip this step, and it always comes back to haunt them.
During the Project: Installation Realities
Alright, you've got your materials, your subfloor is prepped (hopefully). Now for the installation. This is where the DIY vs. Pro line gets a little clearer.
- Laminate and Click-Lock Vinyl Plank: These are probably the most DIY-friendly options. They're designed to click together, and with a little patience and the right tools (a good saw, tapping block, spacers), you can often get a decent result. Watch some videos, read the manufacturer's instructions carefully.
- Sheet Vinyl: This can be tricky. Getting a perfect cut around cabinets and toilets, and then getting it laid without bubbles or wrinkles, takes practice. If it's a small, simple room, maybe. But for a larger kitchen or bathroom, I'd definitely lean towards a pro.
- Carpet: Forget it. Seriously. Stretching carpet properly requires specialized tools and a lot of skill. If it's not stretched tight, it'll ripple and wear out fast. This is almost always a job for a professional.
- Hardwood (Nail-Down or Glue-Down): This is definitely pro territory. It's a precise, labor-intensive job that needs specific tools like nail guns or adhesive spreaders, and a lot of experience to get the seams tight and the floor level. You really don't want to mess up expensive hardwood.
- Tile: Another one for the pros, generally. Cutting tile, especially around fixtures, mixing grout correctly, and making sure you have a level, even surface is harder than it looks.
When you're doing it yourself, be realistic about your time and skill. A professional installer, like us at Peak Flooring, can usually get the job done much faster and with a higher quality finish — because we do it every day. We've got the tools, the experience, and we know the tricks to handle those weird angles or uneven spots.
After It's Done: Finishing Touches & Maintenance
Once the main flooring is down, you'll have some finishing work. This usually means installing baseboards or quarter-round molding. This is a pretty common DIY task. You'll need a miter saw for clean cuts, a nail gun (or hammer and finishing nails), and some caulk and paint for a seamless look. Take your time, measure carefully, and you can get a nice, professional-looking trim job.
Cleaning up is also on you if you DIY. Make sure you dispose of old flooring and scraps properly. We always handle that for our clients, so it's one less headache for them.
As for maintenance, that's always a DIY job, no matter who installs your floor. Keep it clean, follow the manufacturer's recommendations for cleaning products, and address spills quickly. Good care will help your new floor last for years, whether you laid it yourself or had Peak Flooring do the heavy lifting.
Ultimately, it comes down to cost, time, and your comfort level. Some projects are great for a weekend warrior, others are just best left to someone who does it for a living. Don't bite off more than you can chew, especially when it comes to something as central to your home as your floors.